Wood carve a Ladybug Magnet. In this beginner series of wood carving we’re going to do a very simple wood carving project. This project can be done with just a small square scrap of basswood. We will be using mostly push cuts and pairing cuts. If your not sure what those cuts are take a moment to view our youtube video called the 5 basic cuts of wood carving. You can also find the blog post describing the basic cuts here.
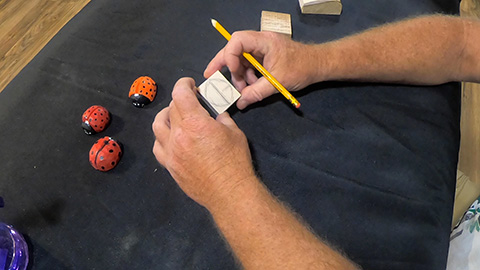
Draw out your Ladybug shape.
Let’s start off by drawing a centerline on the top side of the 2″ (h) x 2″ (w) x 1/2″ (t) square block. Draw this line both horizontally and vertically. This will help us develop a high point as well as a center point on our ladybug. Next draw a circle just rounding out the corners of the block. This will give us a guide to remove the corners and start developing our round shape. Don’t worry about the head shape yet we’ll do that after we have the rounded shape.
Now using push cuts and pairing cuts take off the corners with your carving knife. Work all around the corners carving off the wood up to your oval body shape of the ladybug. If the end grain is tough use a mix of 50% alcohol and 50% water mix in a spray bottle. Spray this solution lightly on the wood and this will soften the end grain.
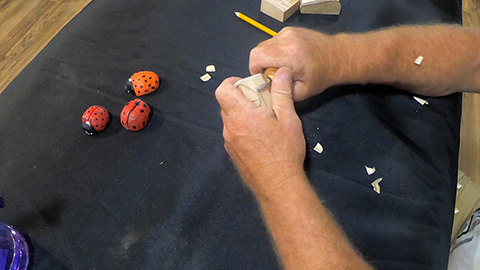
Now you can start rounding the top of the body but leave the centerline as this will be your highpoint. Continue rounding out your piece till you achieve the desired size and shape of the ladybug.
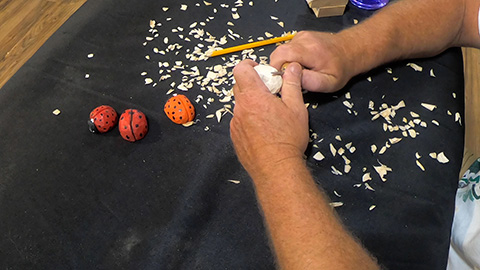
At this point you can redraw your centerline from head to tail. Now draw a line across the front where the first portion of the head will go. The head is actually made up of two parts. Using your v-tool or knife make a v-cut across the first portion of the head. Now you can make a v-cut from the head section to the tail using your centerline.
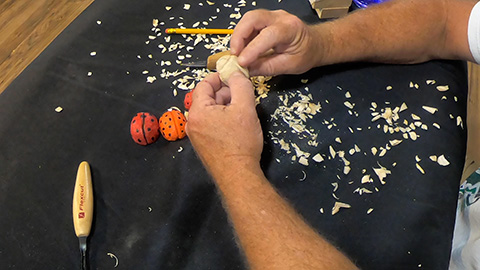
Draw a smaller semi circle on the front of the head section this will be the actual head of the ladybug. Carve in this section with a v-tool or you can use your knife.
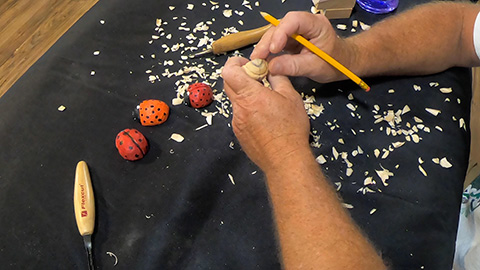
Finish by shaping down the head section by using push cuts. Carve ohe head section down to represent each section. The front of the head is somewhat of a triangular shape. If you want take a look at some google images for ladybugs and this will give you a good idea of what the front section should look like.
Painting the Ladybug Magnet
Finish by painting your ladybugs with reds and oranges as ladybugs can vary in these colors depending on your area. Paint the head black with white spots for eyes. Referencing a photo can give you the actual look when painting. Now you can randomly add black dots to create the spots on the Ladybugs.
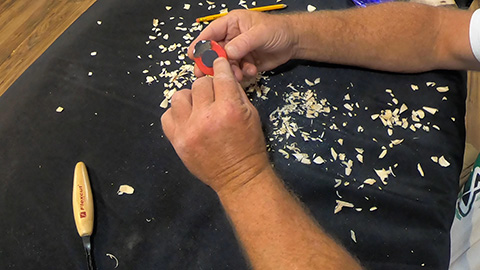
Wood carve a Ladybug Magnet. Finish the carving by adding a small magnet on the bottom. I used these magnets available from Amazon.
This was a quick fun carve and in no time you can have ladybugs crawling all over your fridge.
Happy Carving
Carverguy