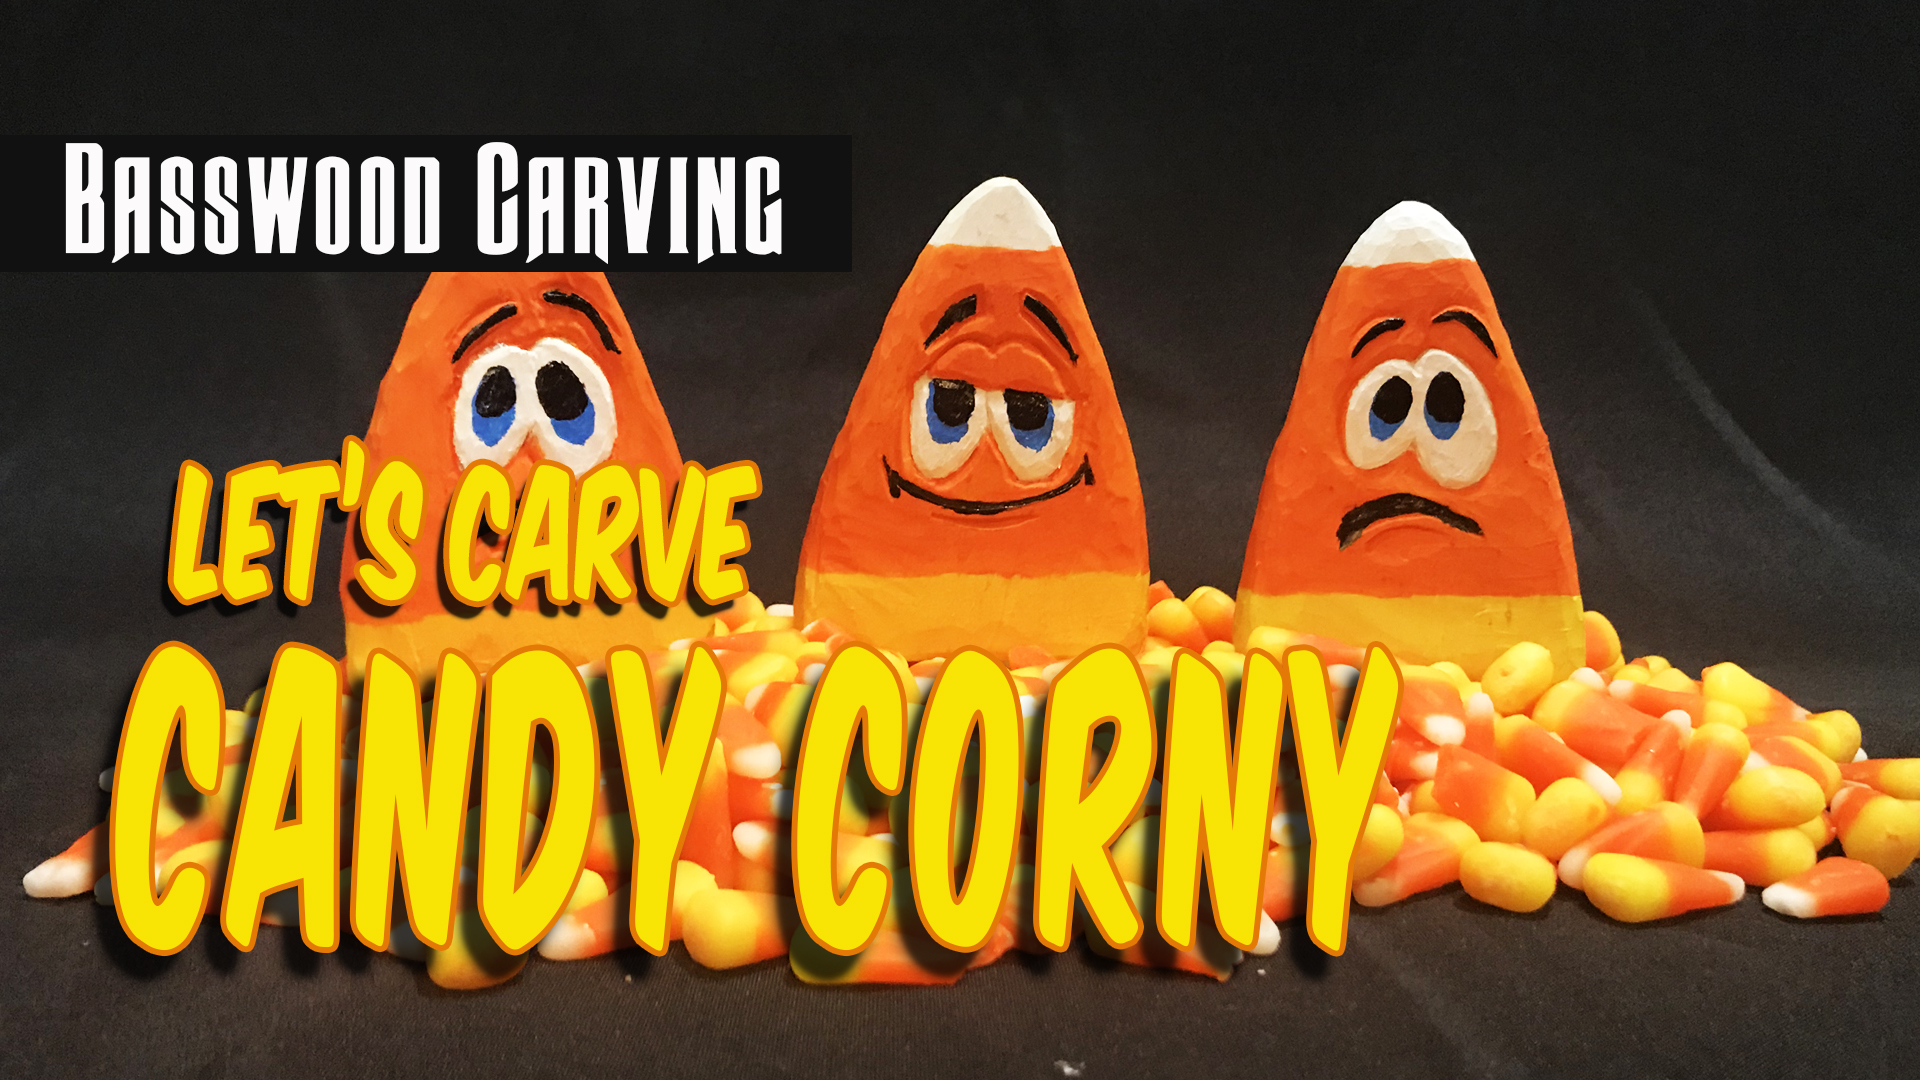
Here is a simple fun Candy Corny wood carving for Halloween. Meet the Candy Corny guys, a cartoon caricature easy for beginners to carve. So I was picking up some Halloween Candy and also needed to get together a new wood carving project for the youtube channel. I wanted something that would be a quick fun carve. I grabbed some bags of candy bars and saw the candy corn.
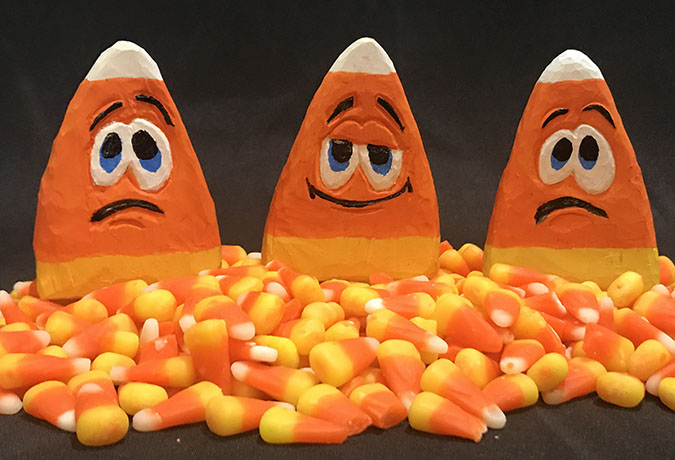
Right away I envisioned those candy corns with big funny cartoon eyes and bam there was my idea. After finishing the carving I needed a name and sent the carving pics to my sister as she always wants to see my wood carvings. Quickly, she replied back with “Wow, Those look Corny LOL” I texted back “Thanks Sis, you just helped me name my carving”.
If you want to follow along the instructional video can be found here.
Candy Corny’s
Start off with a block of basswood roughly 1/2 to 3/4″ thick x 3″ wide x 4″ tall square. If you have a bandsaw or scroll saw you can start by cutting a triangle or you can find the pattern for download here.
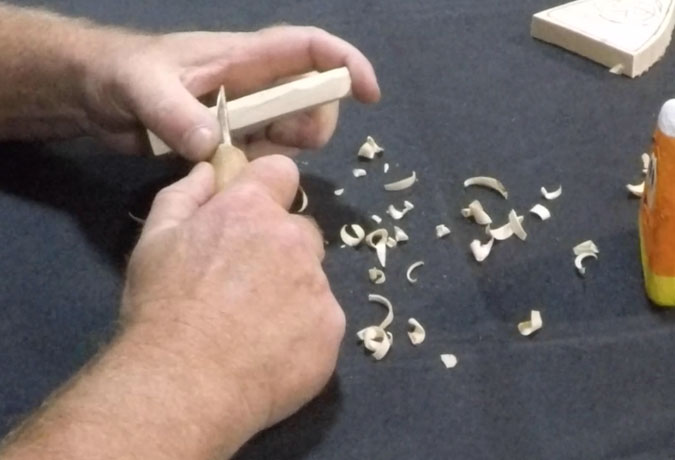
Start with your favorite wood carving knife and round the edges of your piece. I used the flexcut detail knife, leave the bottom flat so you can stand it up when your finished. Shave and remove the front a little just to give the flat plane carved look. Now shave the back the same and remove the surface of the factory edge.
Transfer or draw the face of your choice on the front of your Candy Corny wood carving. If you choose use transfer paper to transfer the pattern of the face on the front. Once you have the face drawn on grab your small V-Tool and follow all lines of the face. Start by using the small V-Tool and then switch to a bigger V-Toll to create more depth. If you don’t have a V-tool you can use your knife to create the V-cut.
Face Detailing
To start detailing on the face use your knife and round down the edges of the eyes. If you want to make the eyes look more raised you can cut deeper stop cuts around the outside edges. If you use the eyelid pattern make sure to leave the eyelids extended past the eyeball so they are just a little larger than the actual eyeball. Shave the eyeball back towards the eyelid so that it looks as though it’s underneath the eyelid.
Now carve a v-cut for the mouth and don’t forget the smile lines. For the eyebrows make deeper stop cuts around the outside to make them appear raised. Take off the hard edges of the eyebrows slightly and shave off any remaining pencil lines on your piece.
Painting
I have a painting video on youtube here.
Painting is pretty simple, just start with the white and cover the tip. If you want that washed stain look add a few drops of water to thin down your paint. For the background of the eyes I like to keep it solid. This will make the blue in the eye to look a little more bright. Paint a little past the areas and you can cover with the orange.
I used a bright yellow with a drop or two of the bright orange for the bottom band and tried to match the color of a real candy corn.
For the orange I used bright orange and thinned out with a drop or two of water just to smooth the paint a little.
Now paint in the eye brows, mouth and pupils with black.
This is a great project for the beginner wood carver even if you want to have a few done for halloween.
Have Fun and Happy Carving
Carverguy